


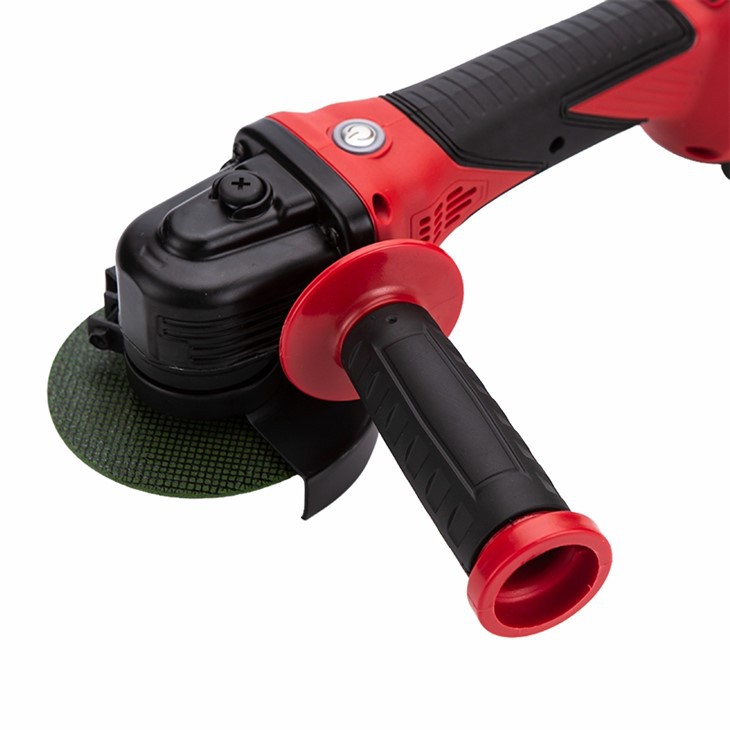
Replacing the carbon brushes in an electric cordless angle grinder is a task that might seem daunting at first, but with the right guidance, it can be accomplished smoothly. As a supplier of high - quality Electric Cordless Angle Grinders Electric Cordless Angle Grinder, I've encountered numerous customers who are interested in learning how to perform this maintenance task. In this blog, I'll walk you through the process step by step.
Why Replace Carbon Brushes?
Carbon brushes are crucial components in an electric cordless angle grinder. They are responsible for transferring electrical current from the stationary parts of the motor to the rotating parts. Over time, these brushes wear down due to friction and electrical arcing. When the carbon brushes become too short or damaged, the grinder may experience problems such as reduced power, inconsistent performance, or even fail to start at all. By replacing the carbon brushes regularly, you can extend the lifespan of your angle grinder and ensure it operates at its best.
Tools and Materials You'll Need
Before you start replacing the carbon brushes, gather the following tools and materials:

- Screwdriver set: Different types of screwdrivers may be required depending on the model of your angle grinder. A Phillips - head and a flat - head screwdriver are usually sufficient.
- New carbon brushes: Make sure to purchase the correct type and size of carbon brushes for your specific angle grinder model. You can find these at hardware stores or order them online.
- Cleaning brush: A small brush, such as a toothbrush, can be used to clean the inside of the grinder.
- Safety glasses and gloves: Protect your eyes and hands during the process.
Step 1: Safety First
Safety should always be your top priority when working with power tools. Before you begin, ensure that the angle grinder is turned off and the battery is removed. This will prevent any accidental starts and protect you from electrical shock. Put on your safety glasses and gloves to safeguard yourself from any debris that may be dislodged during the process.
Step 2: Locate the Brush Covers
The brush covers are usually located on the side or back of the angle grinder. Refer to your grinder's user manual if you're having trouble finding them. Once you've located the covers, use the appropriate screwdriver to remove the screws holding them in place. Carefully set the screws aside in a safe place so you don't lose them.
Step 3: Remove the Old Carbon Brushes
After removing the brush covers, you'll be able to see the old carbon brushes. They are typically held in place by a spring or a clip. Gently release the spring or clip and carefully pull out the old brushes. Take note of the orientation of the brushes and how they are connected to the grinder. This will help you install the new brushes correctly.
Step 4: Clean the Brush Holders
While the old brushes are removed, use the cleaning brush to gently clean the brush holders. Remove any dust, debris, or carbon particles that may have accumulated inside. This will ensure good electrical contact between the new brushes and the motor.
Step 5: Install the New Carbon Brushes
Take the new carbon brushes and insert them into the brush holders in the same orientation as the old ones. Make sure they fit snugly and are properly seated. Reattach the spring or clip to hold the brushes in place. Double - check that the brushes are securely installed and that there is no play or movement.
Step 6: Replace the Brush Covers
Once the new carbon brushes are installed, carefully place the brush covers back on the grinder. Align the screw holes and use the screwdriver to tighten the screws. Make sure the covers are firmly in place to prevent any dust or debris from entering the grinder.
Step 7: Reinstall the Battery and Test the Grinder
After replacing the brush covers, reinsert the battery into the angle grinder. Turn on the grinder and let it run for a few minutes to ensure that the new carbon brushes are working properly. Listen for any unusual noises or vibrations. If everything seems normal, your angle grinder is now ready to use.
Common Issues and Troubleshooting
- Grinder still not working: If the grinder still doesn't work after replacing the carbon brushes, there may be other issues such as a faulty motor or a damaged battery. Check the battery to make sure it's fully charged and functioning correctly. If the problem persists, it's best to consult a professional technician.
- Excessive sparking: Some sparking is normal when the grinder is running, but excessive sparking may indicate a problem with the carbon brushes or the motor. Make sure the brushes are properly installed and that they are the correct size for your grinder. If the sparking continues, stop using the grinder and have it inspected.
Conclusion
Replacing the carbon brushes in an electric cordless angle grinder is a relatively simple maintenance task that can save you time and money in the long run. By following these steps, you can keep your angle grinder in good working condition and extend its lifespan. As a supplier of Workzone Cordless Angle Grinder and Waterproof Cordless Angle Grinder, we are committed to providing high - quality products and helpful information to our customers.
If you're interested in purchasing our Electric Cordless Angle Grinders or have any questions about our products, please feel free to contact us for procurement and negotiation. We look forward to working with you to meet your power tool needs.
References
- Angle Grinder User Manuals
- Power Tool Maintenance Guides from Hardware Stores


